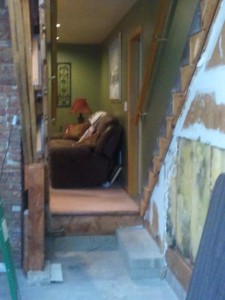
 On Good Friday I decided to start the rebuilding of the stairs in the house. The old stairs were made of popular / pine and were stained black. When we moved into the house, I had the carpet guys just cover them when the carpet was being installed in the family room. I knew I was going to rebuild the stairs at some point. After 17 years in the house, the time had come to tackle the project. We wanted to tear up the carpet in the family room and put down a hardwood floor. In doing that, The stairs really needed to be replaced first, so the new hardwood floor could be set up against them.
The photo above is taken from the garage looking into the family room. For two weeks Cathy kept referencing the hole that I put into the house. Usually with these projects I take more photos, but for whatever reason with this project I didn’t. I tried to find a photo of the old stairs so I could show everyone how ugly there were, but alas no such photo exists.
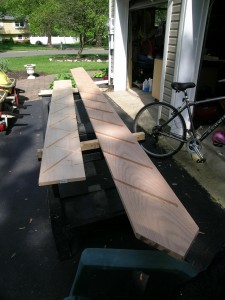
It took me two days to route out both stringers! I ended up destroying 5 router bits in the process. I also ended up destroying a stringer and had to spend $100 to fix my mistake. With the wrecked stringer, as I laid out the treads, I mistakenly allowed a 1/16″ of an inch error to creep into the layout for each tread. By the time I had the 14 treads routed, I was off a full inch at the bottom. Each stringer is 5/4″ thick by 10″ wide and 16 feet long. The treads are also 5/4″ thick. The risers are 3/4″ thick.
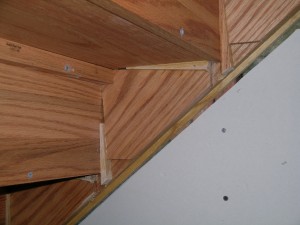
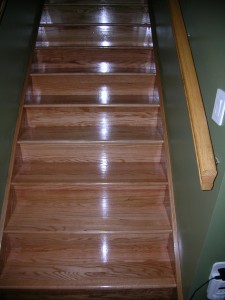
The new stairs are so much more solid than the old ones. Plus they look great.
Now I have to lay the hardwood floor in the family room.
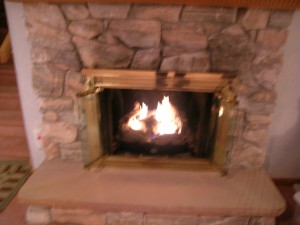 One of the gifts we got for the house this Christmas was gas logs for the fireplace. We had been burning the artificial logs to be able to have a fire and keep the mess to a minimum. The artificial logs were not even close in comparison to a real wood fire, both in the heat given and the look of the fire. I didn’t like burning wood because of the mess. There would be wood splinters from bringing the wood into the house and building the fire. There was also the mess of ashes the day after.
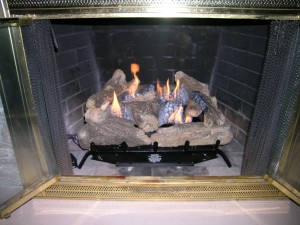 Installing the fireplace took about 8 hours from start to finish. The hardest part of the job was to drill a 1″ hole through the side of the fireplace to run the gas pipe through. Using a hammer drill it took about 3 hours. At one point the bit grabbed the brick and spun the drill. The 1″ drill bit was bent out of shape when the bit grabbed. I had to use a 2lb hammer to coax the bit back into a straight shape. Running the pipe was time consuming, but it was physically and mentally easy. The pre cut sections of black gas pipe from Home Depot really makes the job easy.